
I remember the first time I attempted to steam milk with my Breville Barista Express—I was nervous, to say the least. Watching skilled baristas at my local café effortlessly create creamy lattes and intricate foam art, I thought, “Why not try this at home?” After a few clumsy attempts (and a couple of spills), I finally got the hang of it. Now, I’m excited to share my experience so you too can master the art of steaming milk and create café-quality drinks in your own kitchen. Discover the advanced features and performance of this machine in our Breville Dual Boiler BES920XL review
Why Steamed Milk Matters in Coffee
Steamed milk is more than just a decorative topping for your coffee; it’s the secret ingredient that makes your cup indulgent and luxurious. When done correctly, steamed milk brings a silky, velvety texture that enhances the flavors of your espresso. The magic lies in microfoam—those tiny, smooth bubbles that create a creamy consistency. Achieving the right balance of foam and milk can transform a simple coffee into a decadent latte, cappuccino, or macchiato, delivering a perfect harmony of espresso and milk sweetness. Learn about the ease of use and innovation in our Breville Barista Touch Impress review
Preparing Your Breville Barista Express for Milk Steaming
The Breville Barista Express is a top-notch choice for anyone aiming to replicate café-quality beverages at home. Its robust steam wand makes it easy to achieve professional results, whether you’re a complete beginner or a seasoned coffee enthusiast. Following the correct steps is key to steaming milk like a pro. Compare these two popular models in our Breville Barista Express Impress vs Pro review

Essentials for Steaming Milk
To create the perfect steamed milk, ensure you have the following tools ready:
- Breville Barista Express (equipped with a steam wand)
- Cold milk (whole milk is ideal for creaminess; barista-grade plant-based milk like oat or almond works well too)
- Stainless steel milk jug (ensures even temperature distribution)
- Thermometer (optional, for precise temperature monitoring)
Step-by-Step Instructions for Steaming Milk
Prepping Your Machine
Start by letting the Breville Barista Express fully heat up. Once the steam light activates, give it another minute or two to ensure it reaches the optimal temperature. Purge the steam wand by turning the dial for a few seconds—this removes any water and guarantees dry steam, essential for achieving a smooth texture. Find out which machine suits you better in our Breville Barista Pro vs Express review
Preparing the Milk
Fill your stainless steel milk jug about one-third full with cold milk. Cold milk gives you more control and time to create the desired texture. Whole milk is typically the best option for achieving a rich foam, but barista-grade plant-based milks also work well. Explore the key differences between these premium machines in our Breville Oracle vs Oracle Touch review
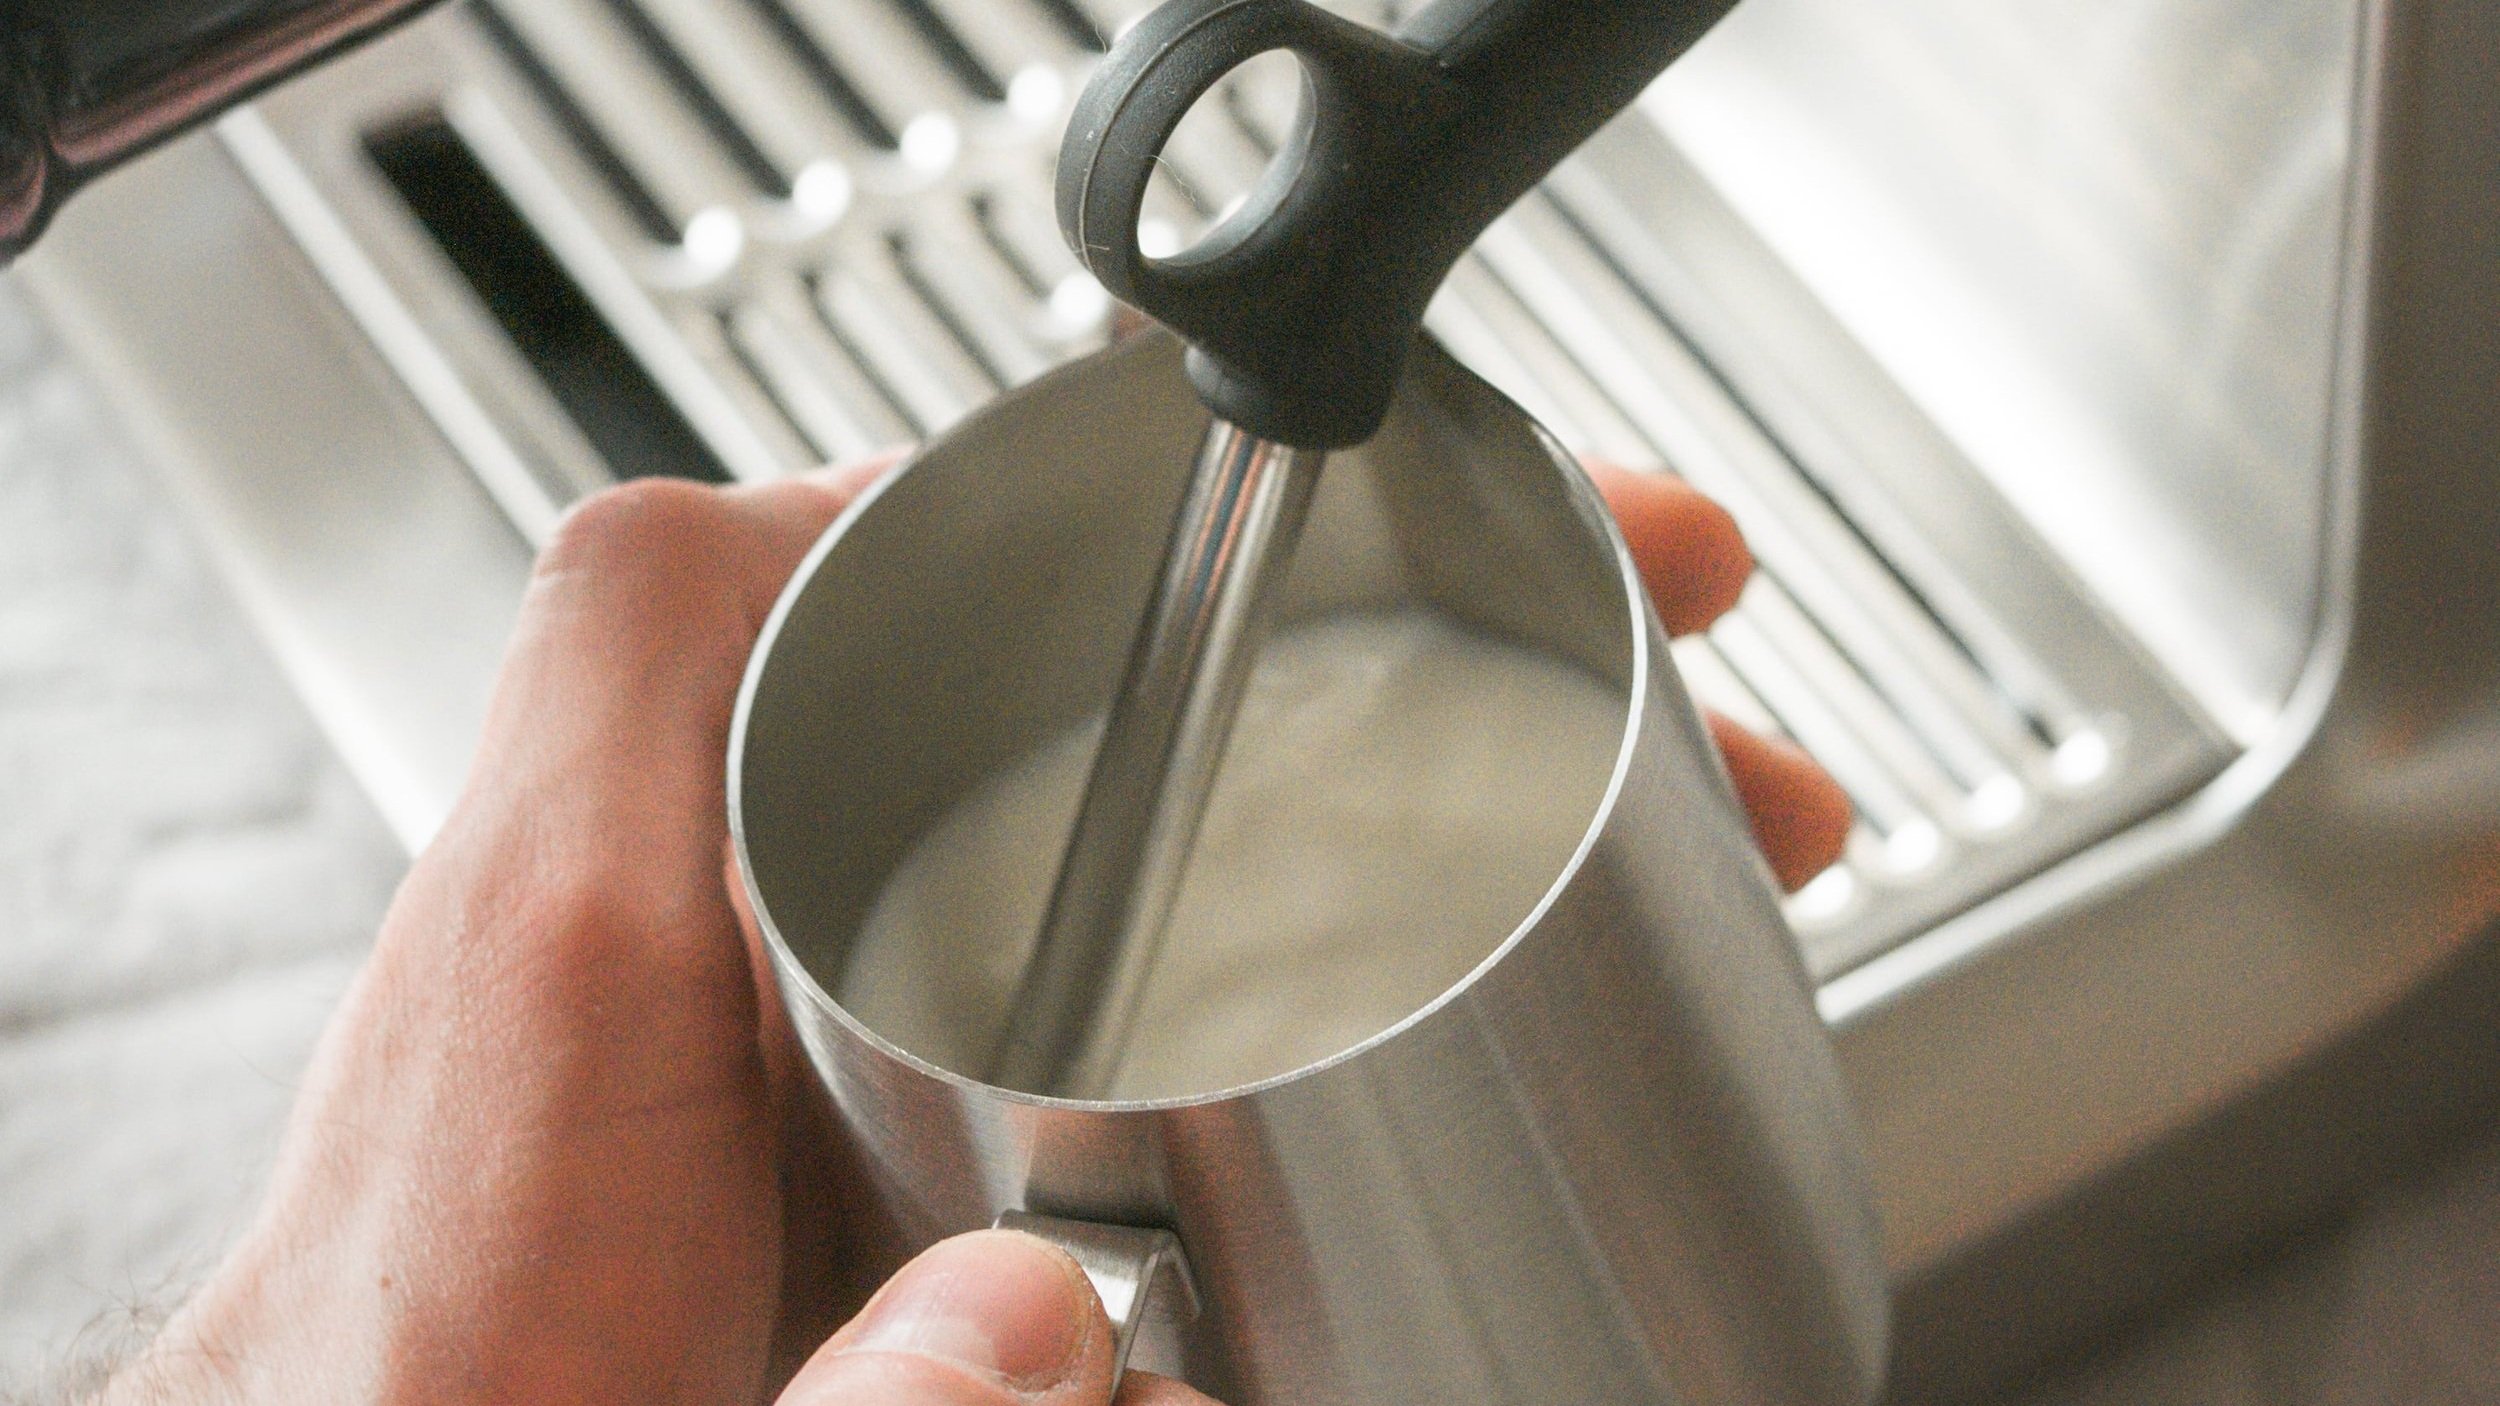
Positioning the Steam Wand
Correct wand placement is crucial. Insert the steam wand tip just below the milk’s surface at a slight angle (15–20 degrees). This helps create a whirlpool effect, which breaks down large bubbles and incorporates air smoothly into the milk.
To maximize this effect, tilt your milk jug slightly and position the steam wand near the edge to encourage the swirling motion.
Steaming the Milk
Turn the steam knob to begin. You’ll initially hear a gentle hissing sound—this is the “stretching” phase, where air is incorporated into the milk to create foam. Keep the steam wand just below the surface during this stage to avoid splashing.
After 5–10 seconds, lower the jug slightly to submerge the steam wand deeper. This transitions to the “texturing” phase, where the milk heats up and the foam integrates. Aim for a swirling motion to evenly distribute heat and create a silky texture.
The target temperature is around 150°F (65°C). If you don’t have a thermometer, stop steaming when the jug becomes too hot to comfortably hold for more than a few seconds.
Finishing Up
Once your milk is properly steamed, turn off the steam and immediately wipe the wand with a damp cloth to remove any residue. Purge the wand again to prevent clogging.
Gently tap the milk jug on a counter to eliminate any large bubbles, then swirl the milk to achieve a glossy, smooth texture. If it looks shiny and silky, you’ve nailed it!
Pouring the Milk
To pour, start slow and keep the jug close to the coffee’s surface. Blend the milk and espresso seamlessly by pouring gently. As you reach the top, lift the jug slightly and pour faster to layer the foam. With practice, you can even experiment with basic latte art, such as hearts or rosettas.
Troubleshooting Common Milk Steaming Challenges
- Milk won’t froth properly: Use cold milk and ensure the steam wand is just below the surface. Always purge the wand beforehand.
- Foam has large bubbles: Keep the wand beneath the surface and maintain a slight angle for a smoother foam.
- Milk overheats: Stop steaming when the jug becomes too hot to touch comfortably or use a thermometer for precision.
- Non-dairy milk issues: Barista-grade versions of oat and almond milk work best for frothing.
Perfect Your Steamed Milk Technique
Mastering milk steaming with your Breville Barista Express may take some practice, but the results are well worth it. By following these steps, you’ll soon create smooth, velvety microfoam and enjoy café-quality beverages right at home. Don’t be discouraged if it takes a few tries—perfection comes with persistence. Happy steaming!
Frequently Asked Questions
What type of milk is best for steaming?
Whole milk produces the creamiest foam, but barista versions of plant-based milks are also excellent for frothing.
Why isn’t my milk frothing correctly?
Ensure the milk is cold, the steam wand is positioned correctly, and the wand is purged before steaming.
How do I know when the milk is at the right temperature?
The ideal steaming temperature is 150°F (65°C). Without a thermometer, stop when the jug is too hot to comfortably hold for more than a few seconds.
Can I use non-dairy milk for steaming?
Yes, opt for barista-grade plant-based milks like oat or almond for the best results.
How do I avoid large bubbles in my foam?
Maintain proper wand positioning to create a swirling motion, which breaks down large bubbles into microfoam.